Integration
Integrate with Facebook Messenger
Integrate your chatbot with Facebook Messenger to automate responses to messages on your Fanpage. This applies to both standard Pages and Business Pages (Meta Business Site).
Step 1: In the chatbot management interface, navigate to "Integrations" and select the Facebook Messenger icon.
Step 2: Click the "Select Page" button. The system will redirect you to the Facebook Business Suite admin page.
Step 3: Log in to your Facebook account and grant Easy AI Chat the necessary permissions to manage messages and the selected Fanpage.
Step 4: Once successfully connected, all messages from the Fanpages you’ve linked will be routed to the Easy AI Chat conversation interface for processing.
Integrate with Zalo OA (Official Account)
Connect your AI chatbot with Zalo OA to receive and respond to customer messages directly on the Zalo platform, allowing you to synchronize conversations and manage Zalo customers right from the Easy AI Chat dashboard.
Step 1: In the chatbot management interface, go to "Integrations" and select the Zalo icon.
Step 2: Click "Select OA". The system will redirect you to the Zalo OA management page.
Step 3: Log in to your Zalo OA account and grant the necessary permissions for the Easy AI Chat application.
Step 4: Once the connection is successful, all messages from your Zalo OA will be routed to the Easy AI Chat conversation interface for processing.
Note on Test Mode:
After a successful connection, the AI chatbot will default to Test Mode. In this mode, the chat flow is separate from real users.
-
To test, go to the corresponding Zalo OA and type "Hi AI".
-
When ready to go live, switch the mode from "Test" to "Live" so the bot can automatically respond to customers in real time.
Integrate with Gmail
Enable Gmail integration to receive notifications about leads, reports, or orders directly via email
Step 1: Enter the email address(es) and press Enter. You can enter multiple email addresses. The first email will be the primary recipient. Additional emails will be set to Carbon Copy (Cc).
Step 2: Enable the notification types you want to receive:
-
Lead Notifications: Receive instant alerts when a customer submits a contact/order form.
-
Scheduled Reports: Receive performance summary reports based on your chosen frequency (e.g., daily, weekly).
-
Escalated Conversations: Get notified when the AI identifies a conversation that requires human intervention.
Step 3: Click "Save" to complete the setup.
Integrate with Discord
Similar to Gmail, but instead of entering an email, you’ll enter a Webhook URL for the channel that will receive the notifications.
Notifications will be sent when: A lead is generated from a contact/order form. A conversation needs to be escalated for human handling.
Click "Save" to complete the integration.
Integrate with API
Go to Developer in your account: https://console.easyaichat.app/developer
Follow the instructions there to integrate the API. This allows you to connect Easy AI Chat with external applications and customize advanced automation workflows.
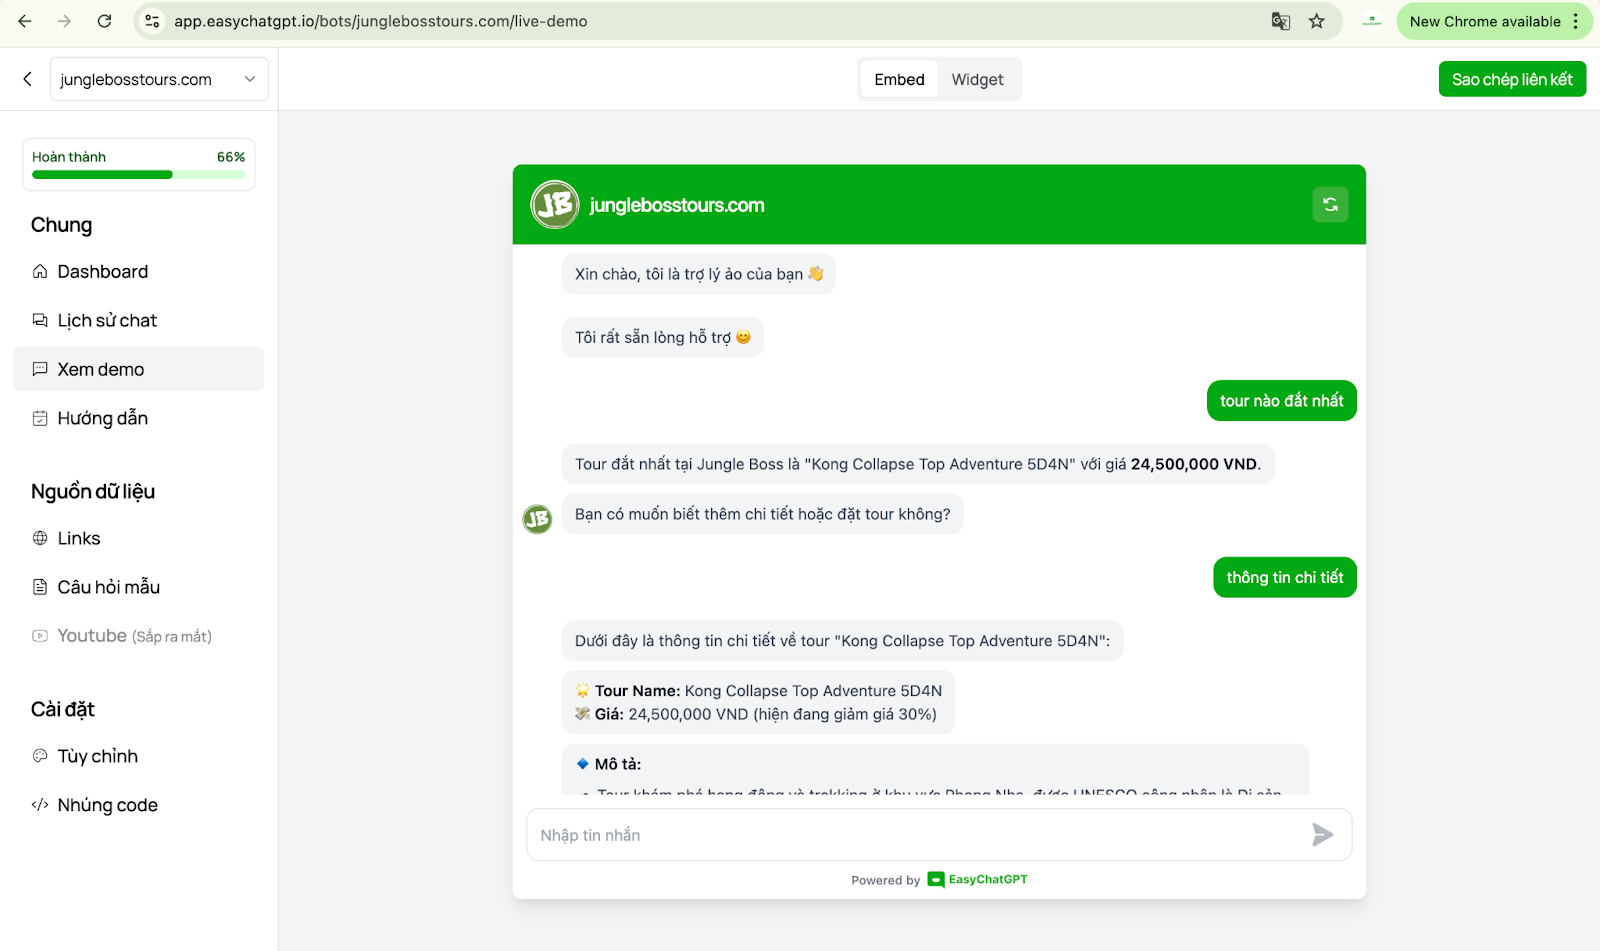
View Demo
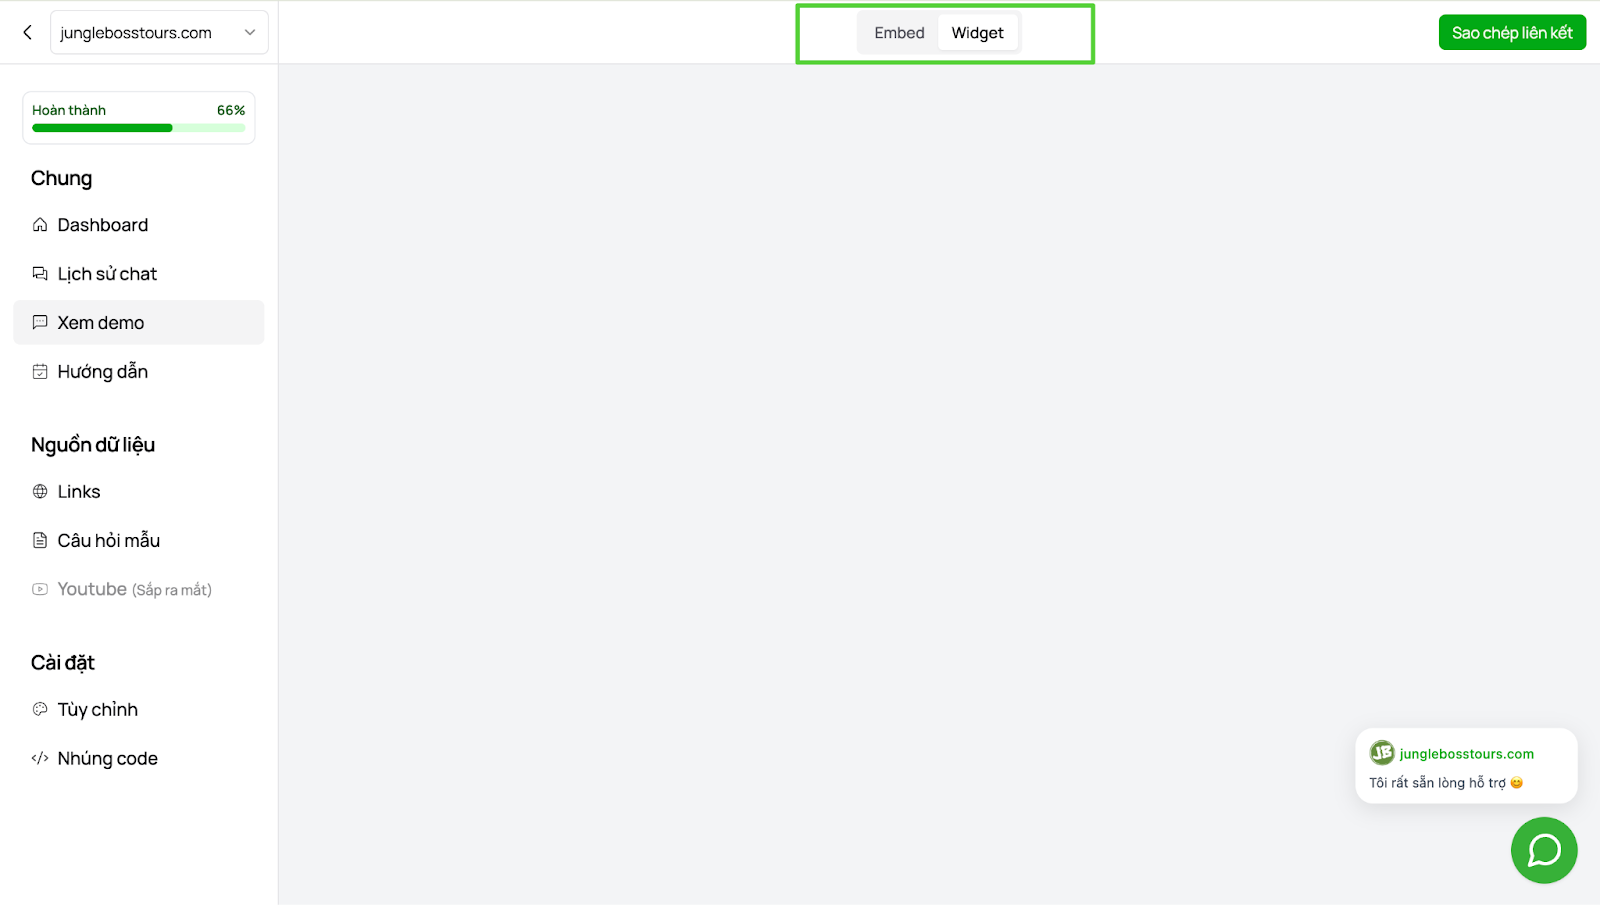
This interface allows administrators to test conversations before embedding the chatbot into actual channels.There are two modes for viewing the demo:
-
Embed: A wide chat window interface for easier testing of conversation content.
-
Widget: Corresponds to the chat interface as it would appear on the actual website.